Moving things about
Since I got it the FTM510D has been mounted under the shelf above the monitors. While that was ok it meant the mic lead was always caught behind one of the monitors. Having tidied one bookshelf and moved things around moving the Portsdown left a space under one of the three screens. A space, I thought ideal for the FTM510D. But how to mount it neatly...
A search for 3D prints for the radio resulted in mainly mobile solutions but I came across a comment on one aimed at an earlier model saying the dimensions should be the same. It seems the FTM150 has the same slidemount arrangement and dimensions. So, off to makerworld - https://makerworld.com/en/models/1181052-desktop-stand-for-ftm-150rasp-may-fit-others - and off to order more PLA because I had hardly any of any sort of black filament.
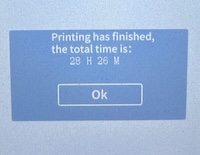
Twenty eight and a bit hours later... my biggest and longest print to date.
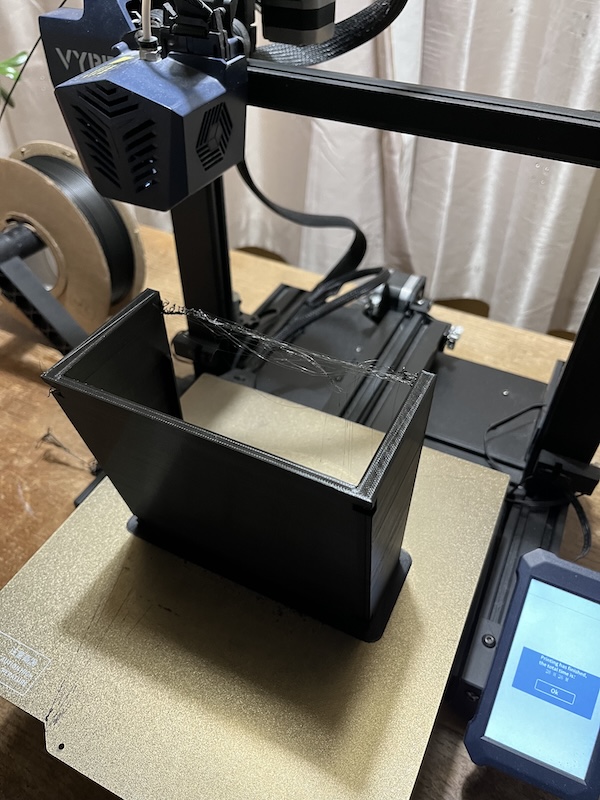
Anyway, it worked just fine. After trimming the bits the radio slots straight in. The model even has a slot to hang the mic, and it sits just right under the monitor. Four sticky feet to stop it sliding finished it off.
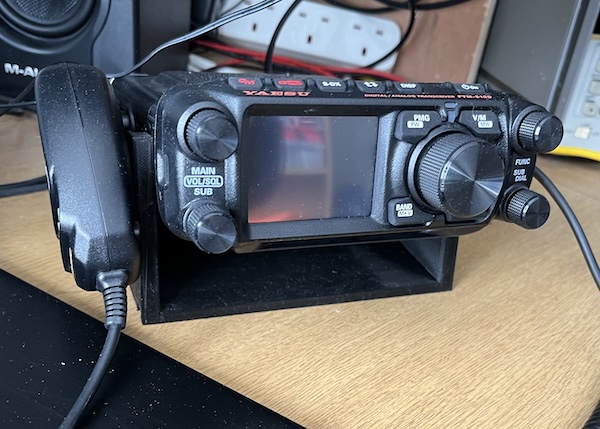
Surprisingly all the cables were of sufficient length for the radio's new home. It has the usual power lead which is always plenty long enough, the antenna lead, audio lead and data lead to a TNC and then to the PC. All just right for a change. So now my three main radios are all in a row. It is also slightly easier to dust, a daily issue round here!